Low-light photos look grainy because too few photons reach the sensor, leaving a weak signal buried in random noise (a low signal-to-noise ratio). To brighten the shot, the camera raises the ISO, which amplifies that signal but also amplifies the noise riding along with it, so the grain becomes visible. Less light, not the ISO setting itself, is the root cause.
Going out in nature and taking pictures in beautiful places is a popular pastime, and a great way to capture the natural world. During the day, with the sun beaming down and providing plenty of natural light, you may feel like a professional photographer, but as dusk begins to fall, things get a bit trickier.
 Remember that the key to all photography is light, so when light isn’t as abundant, getting the right shot becomes much more of an art than a hobby. The biggest problem when it comes to low-light photography is, of course, the graininess that so often appears in low-light shots. The bane of photographers everywhere (particularly those who don’t know how to post-process photos), graininess is a perennial beast when snapping shots. The question is, what is it, and is there any way to eliminate this annoying feature of your photos?
Where Does The Graininess Come From?
Amateur photographers tend to use the term “grainy”, but the more technical word for this gritty or unclear appearance in your photos is “noise”. It may seem odd to use an aural term to describe a visual effect, but the connection to sound will be explained in a moment.
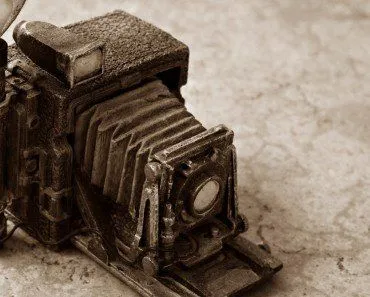
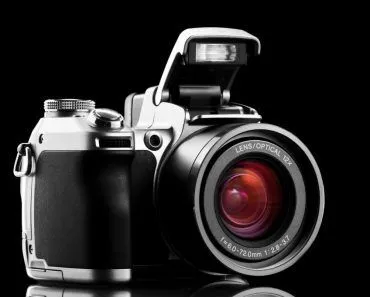
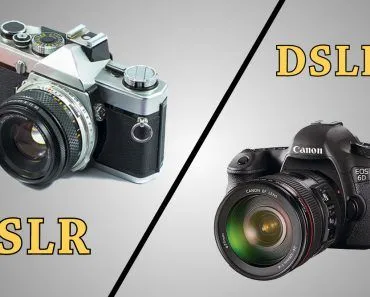
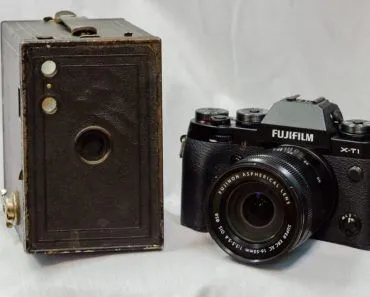
Now, the taking of a picture on an old-school film camera and a modern-day DSLR is notably different, but follows the same principle. On a film camera, when you snapped the button for a picture, a hole would open (the aperture), allowing light inside the camera, where the light would interact with chemicals on the film (previously not exposed to light), thus capturing the picture for posterity. In a DSLR camera, instead of capturing information in the rudimentary form of light and shadow, it is all done in a digital format, with an image sensor chip (light detector) being the receptor of the light, rather than a rectangle of exposed film. The image focused on the image sensor is divided into millions of pixels, each of which is assigned a number based on its color and light exposure. Those numerical values are then “reassembled” into your crisp, perfect digital photograph.
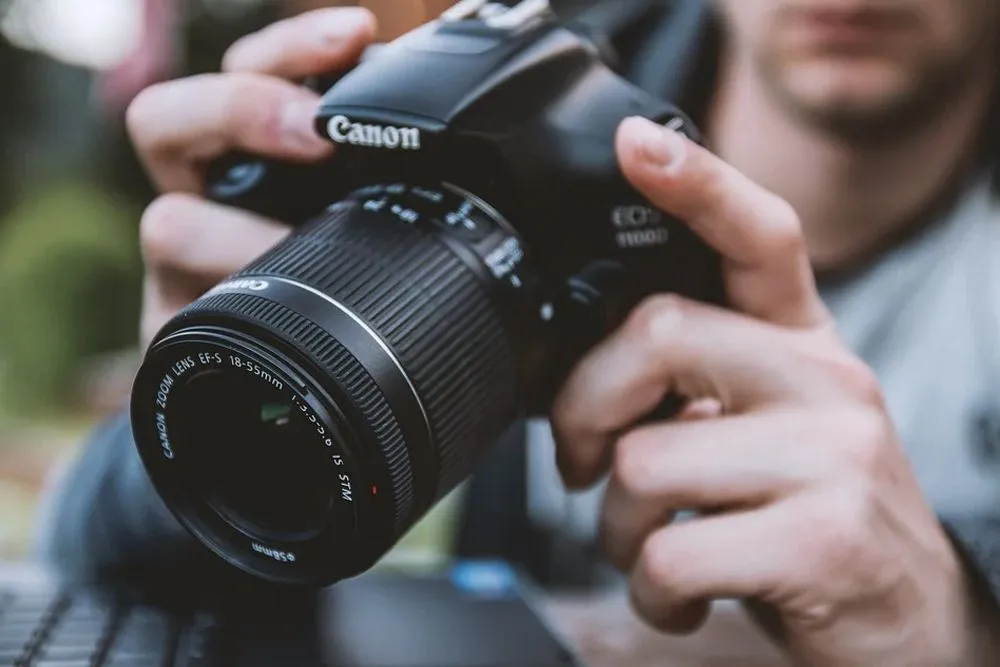
While those two processes seem quite different, the role of light is of critical importance in both. Digital cameras have a setting or measurement called ISO, named after the International Organization for Standardization (the body that set the film-speed scale), which is usually followed by a number. Similarly, film for older cameras was each assigned an ISO number. In cameras both old and new, ISO defines sensitivity to light. Typical ISO levels are 100, 200, 400 and 800; the higher the number, the higher the sensitivity to light. When you use a lower ISO level, the light sensitivity will be lower, and will result in a “finer” grain, i.e., less grain.
Here’s the part most people get backwards, though: that ISO dial isn’t really where the grain comes from. The deeper culprit is the light itself. Light arrives at the sensor as a stream of individual particles called photons, and they don’t turn up in a smooth, even flow; they trickle in randomly, like raindrops. In bright conditions, so many photons land on each pixel that this randomness averages out and you don’t notice it. In dim conditions, only a handful reach each pixel, so the random scatter in those tiny counts (physicists call it “shot noise”) becomes a large fraction of the signal. In other words, the picture starts out noisy before the camera has done anything. The signal is weak relative to the noise, a state photographers describe as a low signal-to-noise ratio.
So if you are at the base ISO for your camera, no amplification is applied and a well-lit scene generates a clean final image. However, in low-light conditions the sensor simply isn’t receiving adequate light, so to brighten the photo to a usable level the camera amplifies the weak signal (i.e., raises the ISO). The catch is that amplification can’t tell signal from noise: it boosts both. Raising the ISO doesn’t create the grain so much as reveal the noise that the shortage of light had already baked in.

Now, we return to the link between photography and sound. When you amplify the sound of a singer’s voice performing on stage, it allows the output to be expressed in an amplified way; namely, his voice is louder. However, when no one is singing, but the amp is still on, have you ever heard that buzzing sound? That is “noise”, and in photography, that comes across as the “grainy” quality in some low-light photos. In auto mode, your camera can’t add more light to the scene, so it kicks the ISO up higher to amplify the faint signal it does have. That amplification doesn’t come without a cost (it raises the noise right along with the signal), thus the grain in your photos. These grains are also known as “aberrant pixels”, where colors and exposure levels aren’t properly expressed and the crispness of the image edges is muddled. The camera will “group” pixels, resulting in clumps of color and exposure levels, rather than sharper, more differentiated pixels.
How Can You Avoid Graininess In Low-Light Conditions?
While there are always specific limitations depending on the camera you are using, there are a few tried and true techniques to help eliminate grain from your photos, even when you’re shooting at dusk or in similar low-light conditions. The first and most reliable option is to simply eliminate the grain while shooting, rather than waiting for post-processing.
Reducing Grain While Shooting
As the explanation above should have made clear, reducing your ISO setting to 100 (or your respective camera’s “base level”) is the best way to eliminate grain, but in dark situations, that isn’t always possible, or if you’re shooting on your camera’s automatic settings. Opening up your aperture as wide as possible can help you keep the ISO down, as this will allow in more light. In certain situations, however, you simply can’t avoid raising the ISO; in some cases, the camera won’t even take a picture if it isn’t detecting an adequate amount of light.
Ensuring that you are shooting at the right exposure, i.e., setting an appropriate shutter speed, will also help to reduce grain. If you slightly overexpose your shots, particularly if you are shooting in a RAW format, rather than JPEG, you can then take down the highlights in post-processing, resulting in low levels of grain and good definition on both your shadows and highlight areas. Shooting in RAW is generally a wise choice when you want to tame grain. A JPEG is compressed and processed inside the camera the moment you press the shutter, which throws away data and bakes in a one-size-fits-all noise reduction; a RAW file keeps everything the sensor recorded, so you can apply noise reduction yourself, gently and with far more control. The downside, of course, is that RAW pictures take up considerably more memory.

How Do Modern Smartphones Take Clean Night Photos?
If you have ever wondered why a recent smartphone seems to laugh off the low-light grain that haunts a “proper” camera, the answer is a clever trick called computational photography. When you tap the shutter in a night mode, the phone doesn’t capture one photo at all. It quietly fires off a burst of frames, sometimes a dozen or more, in a second or two. Each individual frame is dim and noisy, but here is the key: the noise is random, so it lands in a different place in every frame. Software then aligns the frames (correcting for the slight shake of your hands) and averages them together. The real detail, which sits in the same place every time, reinforces itself, while the random noise tends to cancel out. The result is a clean, bright image squeezed out of conditions that would leave a single exposure looking like sandpaper. Google’s Night Sight and the equivalent night modes on other phones are built on exactly this multi-frame approach, which is why a pocket-sized sensor can sometimes out-shoot a much larger one after dark.
Reducing Grain After Shooting
If you simply want to go out in the world and shoot to your heart’s content, without concerning yourself too much with the technical process of the camera capturing each image, you can always make your graininess edits after you get home! The advancements in photography editing software in recent years are astounding, and many programs, such as Adobe Photoshop, have tools that are specifically designed to reduce noise in your photographs.

Depending on what program you are using to edit photos (i.e., Lightroom, Adobe, Apple Photos, etc.), your exact workflow for editing out graininess may differ, but there are some general rules. Manipulating the sliders for luminance, luminance contrast, color and color smoothness is a good way to eliminate the grainy quality of your shots. This will take some practice, but after eliminating the noise on a few hundred photos, you’ll be a pro!
References (click to expand)
- Concepts in Digital Imaging Technology: CCD Noise Sources and Signal-to-Noise Ratio. Hamamatsu / Florida State University.
- Hasinoff S. W. et al. (2016). Burst Photography for High Dynamic Range and Low-Light Imaging on Mobile Cameras. ACM Transactions on Graphics.
- How to Avoid and Reduce Noise in Your Photos (2022 Guide). digital-photography-school.com
- Why Are My Photos Always Grainy + How to Fix [Updated .... colesclassroom.com
- A Beginning Photographer's Guide to Light. PictureCorrect.
- The Basics of Low Light Photography | Contrastly. contrastly.com
- How do digital cameras work?. explainthatstuff.com
- Freeman M. (2011). The Low Light Photography Field Guide: Go Beyond Daylight to Capture Stunning Low Light Images. Focal Press