“Safely remove hardware” tells Windows to finish any pending read/write operations on a USB drive and then dismount it, which prevents data corruption. Since Windows 10 version 1809 (2018), the default “Quick removal” policy turns off write caching, so you can usually unplug a drive without it, provided no file transfer is in progress.
When I first started using USB flash drives to transfer and store data, I wasn’t very careful about using the “safe to remove hardware” option (in Windows computers) before removing the drives from the CPU cabinet/tower. Then I observed a couple of my friends who always followed this so-called healthy practice.
So, what is actually happening when you instruct your Windows computer to safely remove hardware? And why is it considered “better” for your computer? More importantly, is it necessary to follow this practice?
“Safe To Remove Hardware”
In Windows computers, there is a small icon in the bottom right corner of the task bar (system tray), which, when clicked (once), shows a small menu.
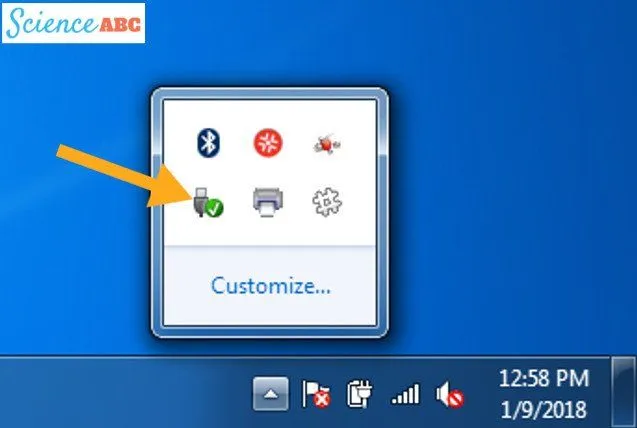
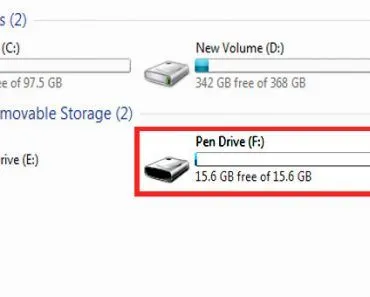
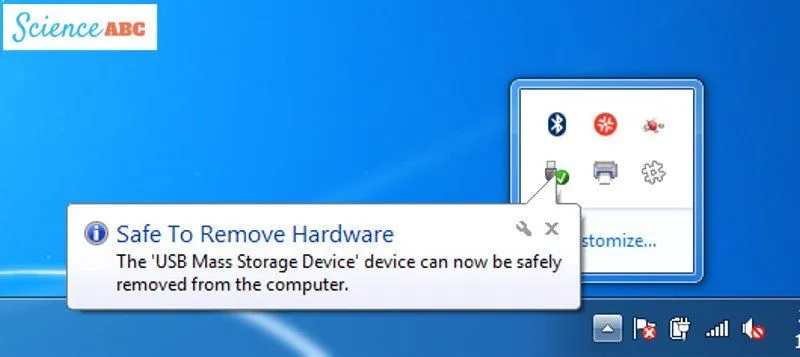
There’s an item in this menu that lets you inform your computer that you wish to safely remove your external drive, such as a USB flash drive (i.e., pendrive or data stick), external hard drive etc. When you select that item, your computer displays a pop-up telling you that it’s safe to remove the hardware you want to eject from the port.
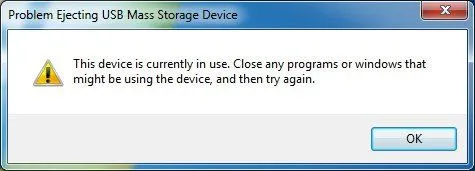
If the system doesn’t show this pop-up, then your drive is probably still in use, or is being accessed by some program on the computer. If this is the case, instead of the pop-up, the system will display a dialog box, telling you that you can’t remove the hardware because it’s still in use.
What Happens When You Select The “Safely Remove Hardware” Option?
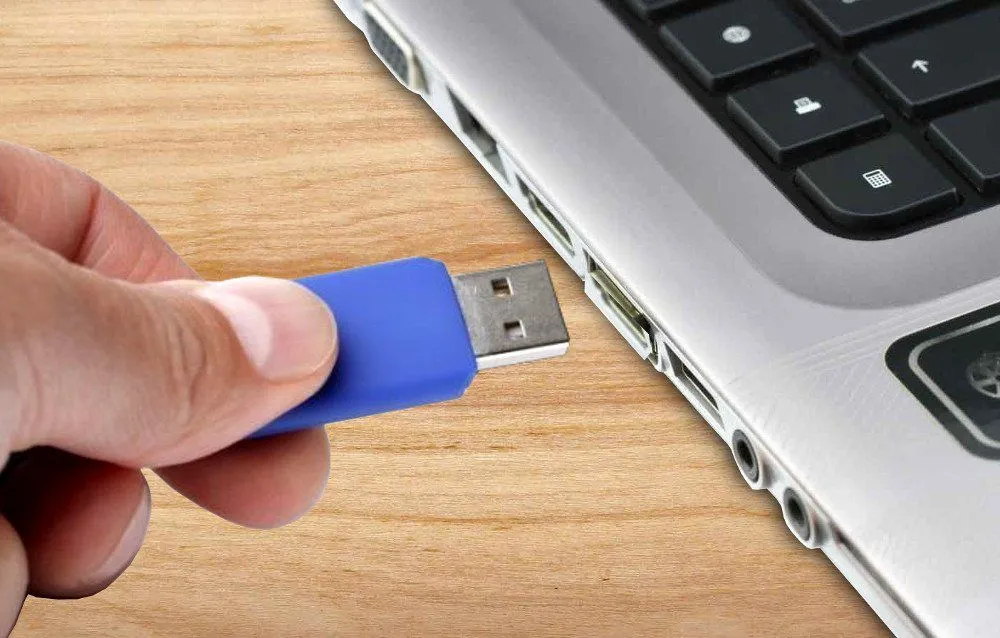
When you move data from one drive to another (e.g., a USB flash drive to an external hard drive), it takes some time, depending on how much data you are moving and how fast your computer is.
Suppose you start copying a few large video files to your USB drive, but before they are completely written (i.e., the progress bar has reached 100%) on the latter, you suddenly eject the USB drive from its slot. This might lead to a ‘corruption’ of the data on the USB drive. Data corruption simply means that the data you copied to the USB drive could not be properly written, and could therefore potentially be unreadable when accessed later.
When you click on the “safely remove hardware” option, you basically instruct the operating system to wait for all processes accessing a file system to finish, and then dismount the file system, which prevents any more read/write operations for the external drive. If, however, you choose to skip this step, i.e., not click on “safely remove hardware” – especially when data is being written on it – then it might potentially lead to data corruption and data loss on the external drive.
However, Windows computers can also use what’s called a ‘write cache’, which means that when something needs to be written on an external drive, it’s not written immediately; rather, the system holds the data briefly to see whether more is on its way before flushing it to the drive. It’s like a bus waiting for more passengers before departing from its stop. Whether write caching kicks in depends on the ‘removal policy’ set for that drive, which you can change in the device’s properties.
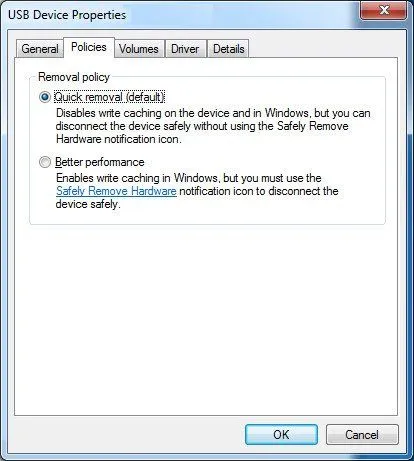
There are two policies on offer here. With “Better performance” (shown in the screenshot above), Windows caches data instead of writing it immediately to the external device. While this approach certainly improves the performance of the drive, it also makes data corruption much more likely if the device is removed without using the “safely remove hardware” option. With “Quick removal,” Windows skips the cache and writes everything straight to the drive, keeping it ready to unplug at any moment, at the cost of a little speed.
Here’s the part that trips up a lot of people who learned the “always safely remove” rule years ago: the default has flipped. Since Windows 10 version 1809 (released in October 2018), and continuing in Windows 11, the default policy for USB drives is “Quick removal,” not “Better performance.” In older versions of Windows, “Better performance” (with write caching) was the default, which is exactly why safely removing hardware used to matter so much.
All in all, on a modern Windows machine left at its default “Quick removal” setting, you don’t strictly have to take the “safely remove hardware” approach; you can eject your device by skipping that step and it won’t lead to data corruption (as long as nothing is actively being written). However, if you’ve switched a drive to “Better performance” to speed it up, then it’s imperative that you take the “safely remove hardware” route to prevent data loss and corruption. And in every case, never yank a drive while a file transfer is still in progress. Even when you’re on “Quick removal,” telling the computer that you are going to remove hardware before actually unplugging it remains a perfectly good habit. There’s no harm in having a bit more patience!
How Do You Safely Eject A USB Drive In Windows 10 And 11?
If you’ve ever wondered what the “proper” word for this is, here it is: the process of removing a USB drive the right way is called ejecting it, not just unplugging it. “Unplug” describes the physical act of pulling the connector out of the port; “eject” is the software step you do first, telling Windows to wrap up its business with the drive. On a Windows PC, Microsoft documents a few interchangeable ways to do it.

The quickest route for most people is File Explorer. Press Windows key + E, open This PC, right-click the drive under “Devices and drives,” and choose Eject. Just be sure you’re right-clicking the drive itself, not a folder inside it. The second route is the system tray: click the “Safely Remove Hardware and Eject Media” icon in the bottom-right corner (you may need to open the “Show hidden icons” arrow first), then pick Eject followed by your drive’s name. There’s also a path through Settings in Windows 11 (Settings > Bluetooth & devices > Devices), where you can select the drive and choose Remove.
Whichever method you use, wait for Windows to flash its “Safe To Remove Hardware” notification before you physically pull the drive. That little message is your green light: it confirms the file system has been dismounted and no read or write is still in flight. Only then is it truly safe to slide the drive out of the port.
What If Windows Says The Device Is Still In Use?
Sooner or later you’ll hit the annoying one: you click Eject, and instead of the friendly “safe to remove” pop-up, Windows tells you the device is currently in use and can’t be stopped right now. This isn’t a malfunction. It’s the safety mechanism doing exactly its job, refusing to dismount the drive because some program still has a file open on it or is still reading or writing data to it.
The fix is usually simple: close anything that might be touching the drive. That means file windows showing the drive’s contents, media players streaming a song or video from it, photo editors, document apps with a file open from the drive, and even antivirus or backup tools that may be scanning it in the background. Once those are closed, try ejecting again and the notification should appear. If a particular file just won’t let go, signing out and back in, or simply closing all your apps, clears whatever process was holding it.
And what about the times you’ve already pulled a drive out without ejecting and nothing bad happened? On a modern machine set to “Quick removal,” that’s expected, because nothing was being cached or written at that moment. The risk isn’t in every single unplug; it’s in the unlucky one where a write was still finishing in the background. Taking two seconds to eject removes that gamble entirely.